Restoring Your Lawn After the Winter Mess
The Hidden Aftermath of a Capital Region Winter
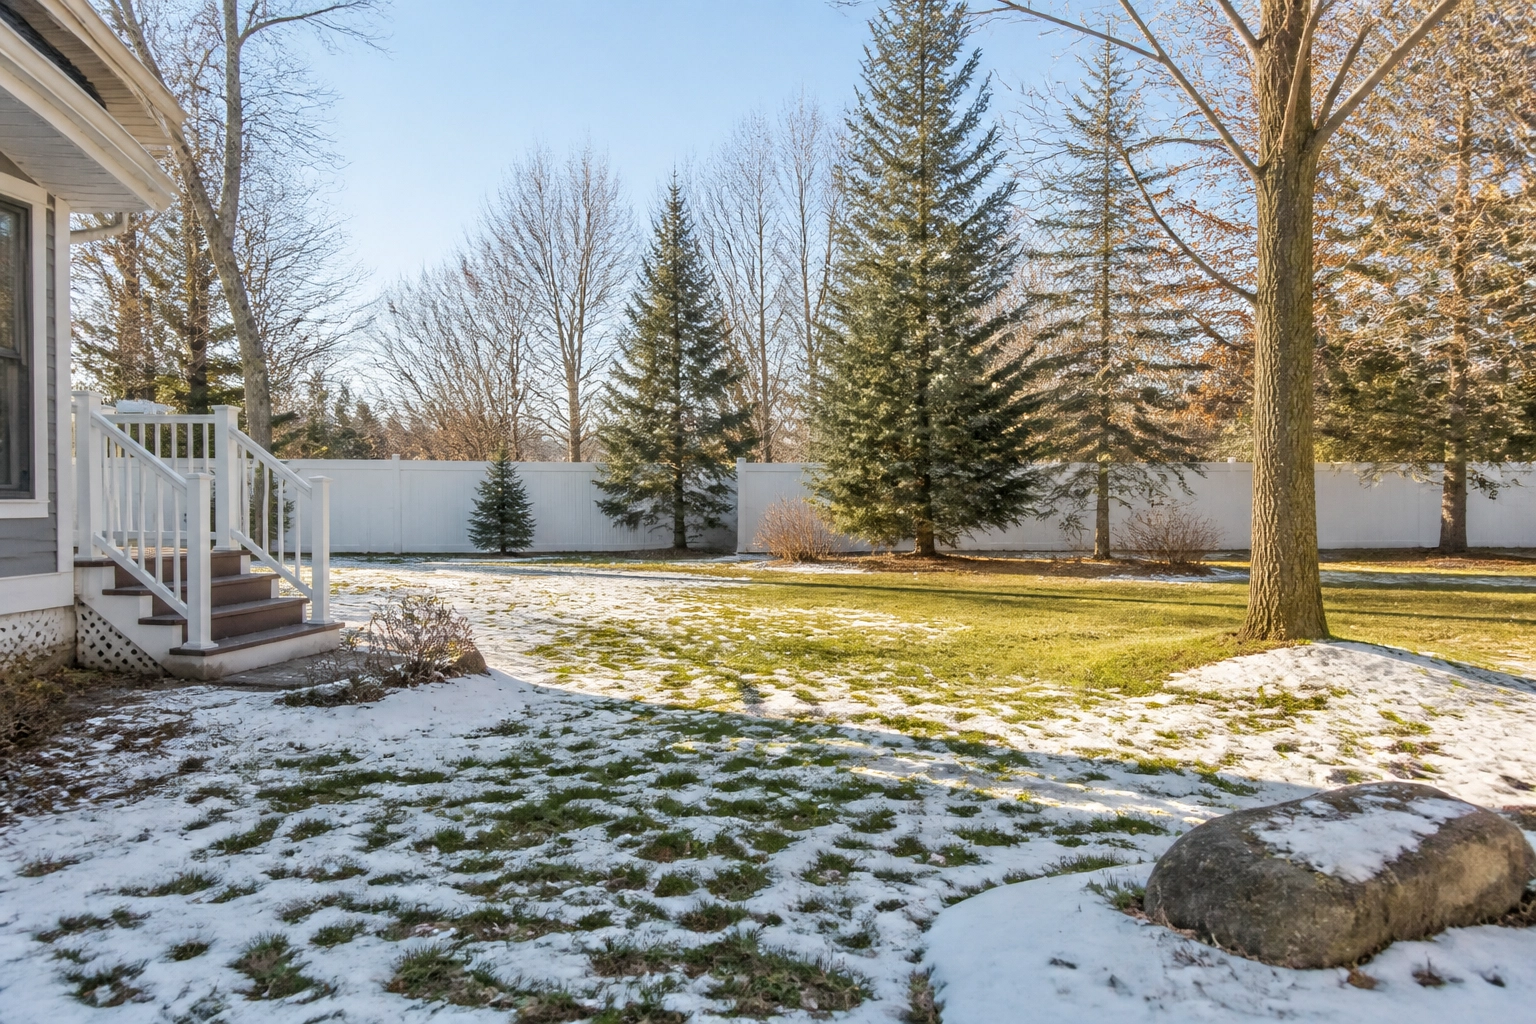
Spring has finally arrived in the Capital Region. The snow is melting, the birds are returning, and the grass is starting to wake up. But for many dog owners in New York, the big thaw reveals a messy surprise. Months of accumulated pet waste have been hidden under the snowpack, creating a concentrated "winter mess" that can wreak havoc on your yard’s health.
The problem isn't just the visual clutter. As the temperatures rise, the organic matter begins to break down, leaching high concentrations of nitrogen and salts into your soil. This leads to those dreaded yellow and brown "burn" spots that refuse to turn green. If left untreated, these spots can become permanent dead zones where weeds thrive and grass struggles to survive.
Getting your lawn back after winter takes a strategic, step-by-step approach. It isn’t just about picking up what you see; it’s about clearing every bit of buried waste, flushing the soil, and reseeding the burn spots. DookieDocs handles the foundation that makes the rest possible — a thorough waste cleanup and yard sanitizing — and the soil-and-seed steps below are straightforward to tackle yourself once the yard is clean. Here’s the full process, start to finish.
Step 01. Clear the Accumulated Waste
The first and most critical step in any lawn recovery is the thorough removal of all solid waste. During the winter, poop doesn't decompose. It freezes and gets buried, layer by layer. When the snow melts, you are left with a "poop-pocalypse" that can suffocate your turf.
Solid waste creates a physical barrier. It blocks sunlight, prevents air circulation, and traps moisture against the grass blades, which can lead to fungal growth and rot. You cannot begin any seeding or fertilization until every single pile is gone.
If you are doing this yourself, be prepared for a long afternoon. However, many homeowners find that the volume of waste after a long New York winter is overwhelming. This is where a one-time dog poop cleanup makes all the difference — a single professional visit to clear out everything winter left behind before restoration work begins. DookieDocs technicians perform a meticulous grid-based sweep of your property to ensure nothing is missed. We bag everything and take the dirty work off your plate — placing it in your own trash bin or hauling it off-site at no extra charge if you'd rather it leave your property entirely.
- Step 01 Goal: Remove 100% of physical debris.
- Safety Check: Use gloves and designated tools to avoid cross-contamination.
How do I flush dog waste nitrogen out of burned lawn spots after winter?
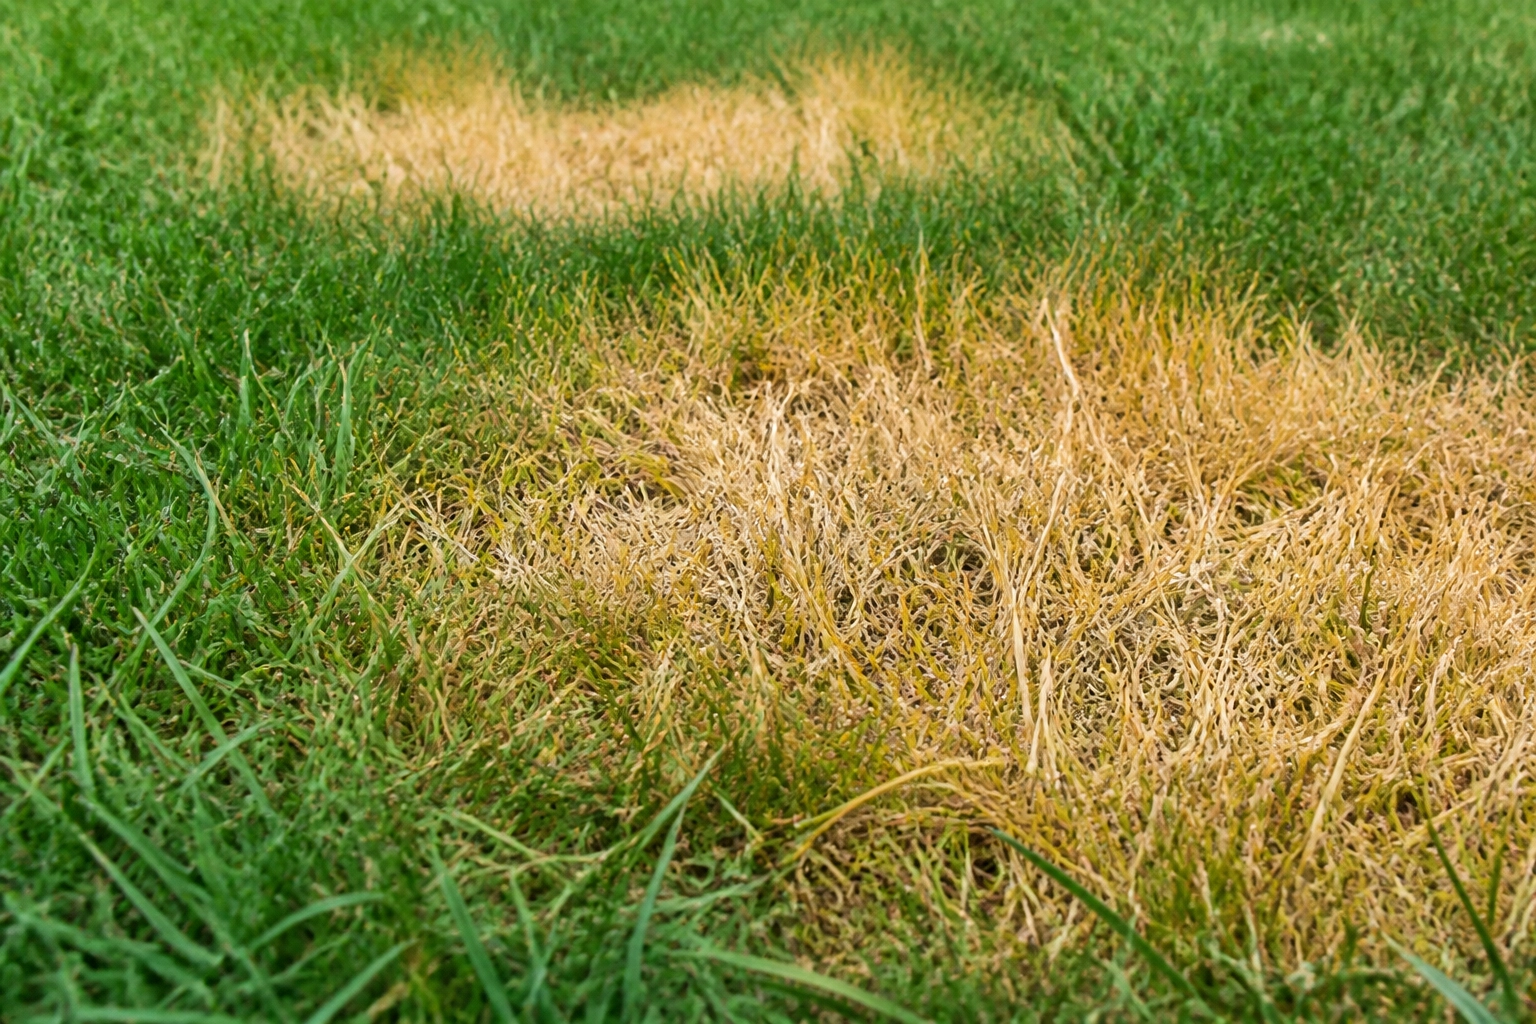
Once the waste is cleared, you will likely notice circular patches of yellow or dead grass. These are caused by the high nitrogen content in dog urine and feces. While nitrogen is a common ingredient in fertilizer, too much of it in one spot acts like a chemical burn, dehydrating the grass and killing the roots.
To fix this, you must "flush" the soil. This involves deep watering of the affected spots to dilute the concentrated salts and nitrogen. Think of it as a detox for your dirt.
Directly soak the yellow spots with a garden hose for several minutes. You want the water to penetrate deep into the root zone to push those salts further down where they can no longer harm the grass. Doing this repeatedly over the course of a week is the best way to neutralize the pH of your soil and prepare it for new growth.
Step 03. Prep the Soil and Reseed
After flushing the salts, it’s time for the actual restoration. Dead grass won't magically come back to life. You need to remove the "thatch": the dead, straw-like grass: to expose the soil underneath. Use a heavy-duty rake to scratch the surface until you see bare dirt.
Once the soil is exposed, follow these steps for the best results:
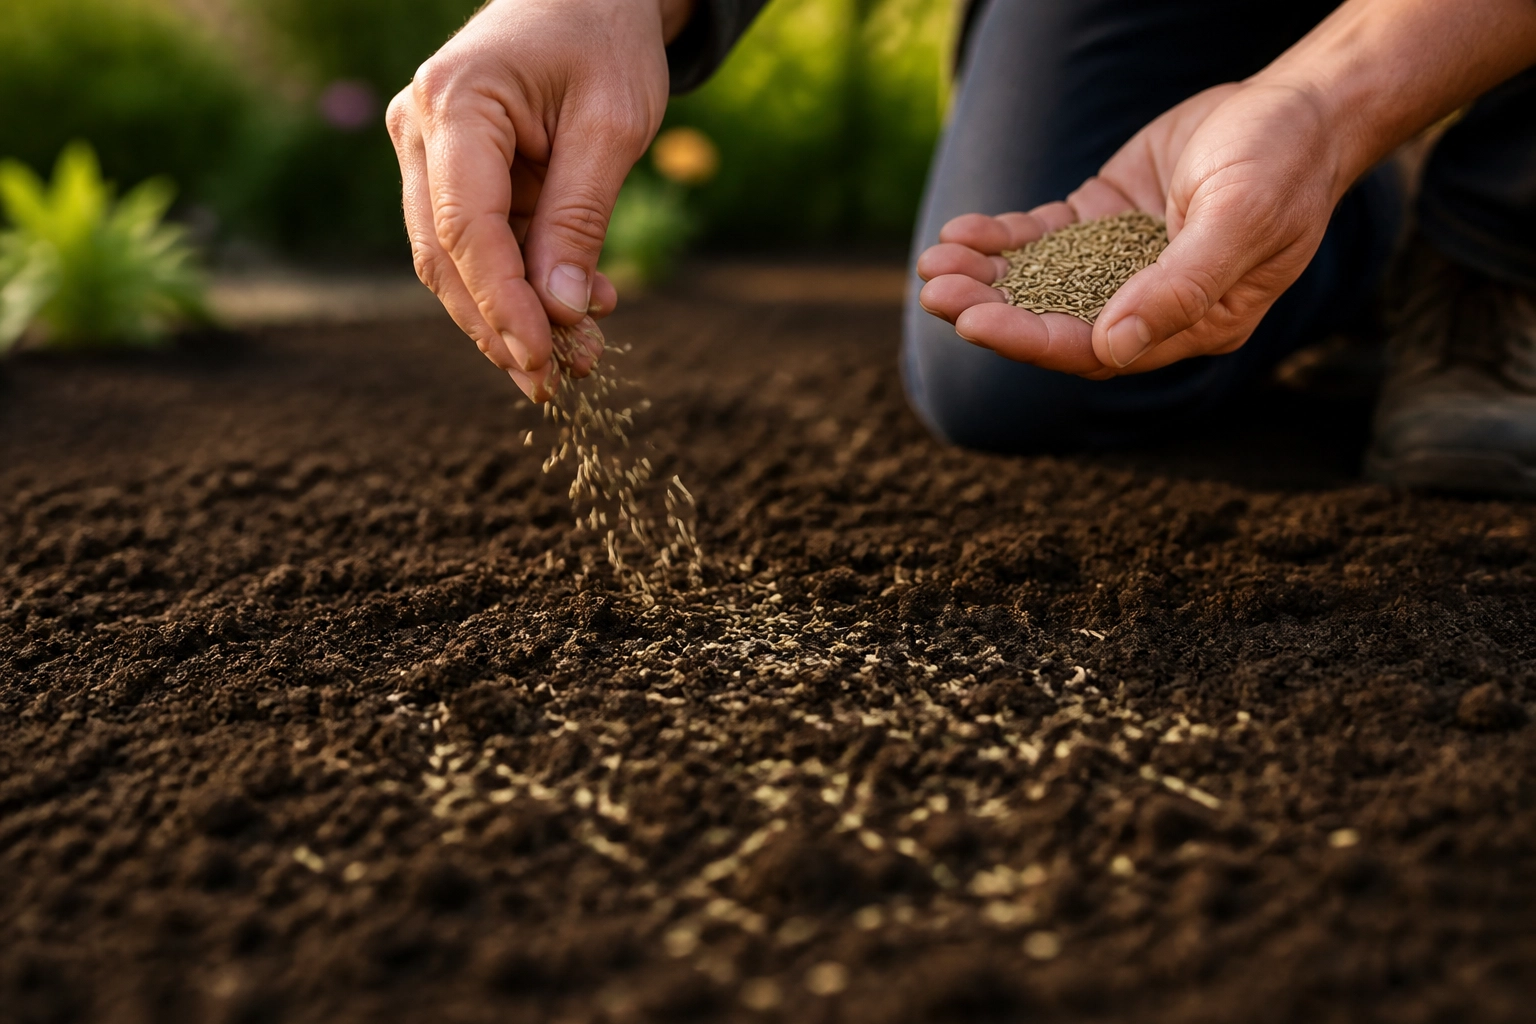
1. Add Topsoil: Spread a thin layer of nutrient-rich topsoil or compost over the spot. This provides a fresh, clean bed for new seeds. 2. Select the Right Seed: Choose a hardy grass blend that matches your existing lawn. In the Capital Region, cool-season grasses like Kentucky Bluegrass or Tall Fescue are usually the best bet. 3. Seed and Feed: Apply the seed generously and use a "starter" fertilizer. This type of fertilizer is specifically designed to help new roots establish quickly without burning them. 4. Tamp it Down: Lightly step on the seeded area to ensure the seeds have good "soil-to-seed contact."
Watering is the most vital part of this step. You must keep the soil consistently moist. If the seeds dry out, they die. Water lightly twice a day until the new grass is at least two inches tall.
Step 04. Deodorize and Sanitize for Health
A clean-looking yard isn't always a healthy yard. Even after the waste is gone and the grass is growing, microscopic parasites and bacteria like E. coli, Salmonella, and Giardia can linger in the soil for months. These "hidden dangers" pose a risk to your family and your pets.
This is why yard sanitizing is a cornerstone of the DookieDocs service. We use professional-grade, pet-safe treatments that eliminate pathogens on contact. Beyond the health benefits, our deodorizing treatments neutralize the enzymes that cause lingering odors.
Instead of walking out onto a patio that smells like a kennel, you can enjoy the fresh scent of a clean spring breeze. Our deodorizing service isn't just a "cover-up" scent; it's a deep-cleaning process that breaks down odor-causing molecules at the source.
- Sanitizing: Kills bacteria and parasites.
- Deodorizing: Eliminates stubborn "dog yard" smells.
- Safety: 100% pet and family safe.
Frequently Asked Questions
How long does it take for the yellow spots to go away? With proper flushing and reseeding, you can see new green growth in as little as 10 to 14 days. If you only flush the area without reseeding, it may take several weeks for the surrounding grass to "fill in" the spot naturally.
Is your deodorizer safe for my dog? Absolutely. We use an eco-friendly, biodegradable solution that is completely safe for pets, children, and the environment. You can let your dog out to play immediately after we finish our treatment.
Do I need to be home when you scoop? Not at all. Most of our customers are at work when we visit. As long as we have access to your yard, we can perform the service. We’ll even text you a photo of your closed gate when we leave so you know your pets are secure.
How do I get started? Getting started is easy. You can request a quote online at dookiedocs.com or simply give us a call. We can usually have your yard on our schedule within the same week.